Creating a jSource Case
- Creating a jSource Case
- Escalating a jSource Case
- Getting Skype for Business
- Creating a jSource Case
- Escalating a jSource Case
- Getting Skype for Business
Escalating a jSource Case
Getting Skype for Business
Creating a jSource Case
Example
Start a new case
- Sign into jSource
- On the Support page, click Add Case
- Add Case will take you to a blank case, which will not be saved until you Save Case at the bottom.
- :warning: Refrain from saving prematurely, since then others can edit it, and your subsequent changes will likely be lost.
- You will see an overview at the top, then a number of tabs, including Case, Notes, and an arrow to navigate to more tabs, like Interested Parties
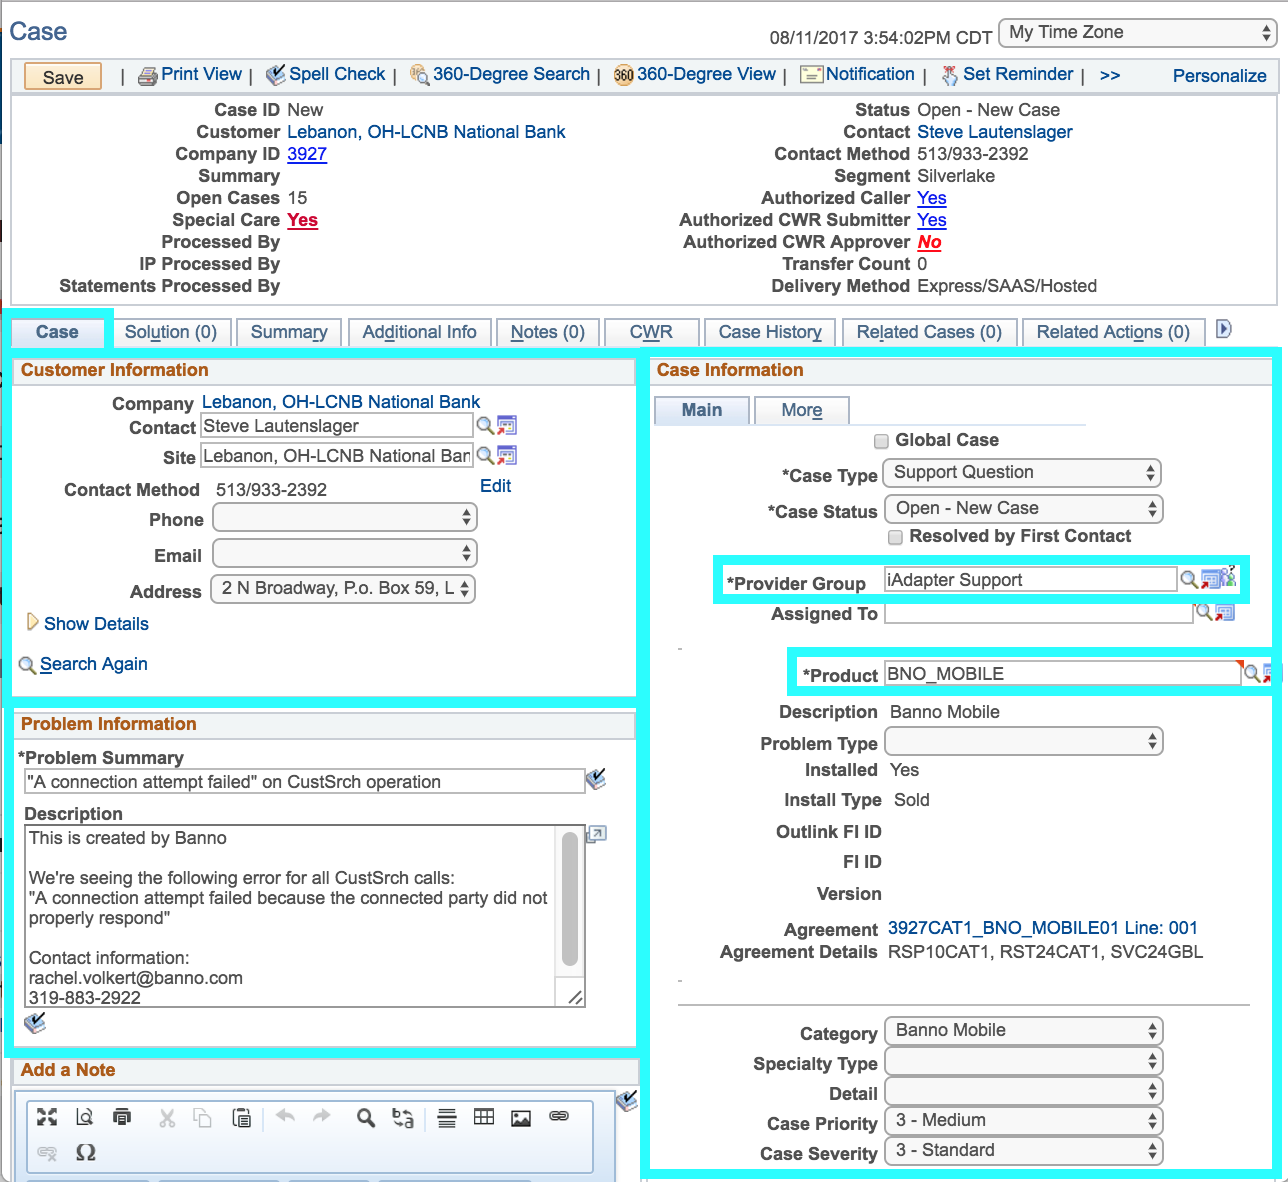
Fill in the relevant tabs
- Case tab
- Under Customer Information, search for the company (FI) and contact
- Sometimes, the name you see in fetch-reporting and postgres isn’t the same as the name used for jSource, but the city and state should be the same.
- To verify you have the correct institution and contact, check the Banno Mobile Status doc’s Company ID, Company Name, and Contact Name fields.
- Under Problem Information, write a Problem Summary and Description
- In the description, start with “This is created by Banno”
- Provide more detail around the error (not the failed request/response xml, which will be added as a note)
- If it’s something urgent, you may choose to provide your email address and/or phone number for ease of communication
- Under Case Information, assign the appropriate Provider Group and Product
- If it has to do with a core interaction, the Provider Group is typically the
jXchange Support GrouporiAdapter Support. If there is a goDough API problem, you’ll typically want to useIS OPSfor the Provider Group. - For after hours cases, use
Call Center AH Part 1, and the after hours call center will route it for you (you’ll also add a note) - The product is generally
BNO_MOBILE
- If it has to do with a core interaction, the Provider Group is typically the
- Leave Case Priority and Severity at
3, Medium and Standard
- Under Customer Information, search for the company (FI) and contact
- Interested Parties tab (hit the tab bar’s arrow to see it)
- Add yourself so you get email updates on the case
- Name (find your entry), Reason (Interested Party)
- If you’re working with someone on the Implementation or Support teams, add them with Add Interested Parties
- Delete (garbage can) any extra rows in the table to avoid errors saving the case later
- Notes tab
- Generally you are going to be creating two notes: An internal tracking note and a req/resp xml note
- Assignment note
- Include only when specifying the call center as the Provider Group
- Subject: “Assignment”
- Body: “Please forward this case on to " + iAdapter or jXchange
- Visibility: Internal
- Note type: Comment
- Interal tracking
- Subject: “Banno Internal Tracking”
- Body: “For Banno internal tracking: {gh isssue link}”
- Visibility: Internal
- Note type: Comment
- Hit Apply note
- Req/Resp XML note
- Include when you have an example of a failed/unexpected response from jXchange
- Subject: “{operation name} Req/Resp XML”
- Include the XML in question
- You can copy this right out of a Kibana log message
- It is usually long and easier read as an attachment
- Assure you’re finished with all other parts of the case before adding an attachment, as that action will save the case
- Visibility: Internal
- Note type: Technical
- Hit Apply note
- Assignment note
- Generally you are going to be creating two notes: An internal tracking note and a req/resp xml note
Save the case
- Verify you’re done adding to the case. Saving it will allow others to edit it, and any changes you make afterward will likely be lost.
- Click Save Case
- After the case has been created, add the case id to the github issue
Troubleshooting pop-up error messages
- Error about “highlighted fields” being empty
- Look for a small red mark next to fields under the tabs you’ve used, such as the Notes and Interested Parties tabs
- Delete extra blank entries as necessary
- Error about Summit institutions needing more information
- Go to the Additional Info tab and select the appropriate Summit Customer Status
- Error about the customer being unauthorized
- Try another contact for the institution in the Banno Mobile Status doc, if one exists
- Your contact is unauthorized for that product
- You may have to switch the Product to
JX_JXCHANGE, as that contact isn’t authorized for Banno yet. - Click on the magnifying glass next to the Contact field. Look for the person that has
FCAdminand/orPrimarySet toY. - Make sure to note in the description who our contact is, and that that person should be contacted instead of the one assigned on the case.
- The case should be able to be made now. If it’s not, contact an Implementation Coordinator (Thom/Sheena/Rachel/Tiffany) to see what to do.
- You may have to switch the Product to
Escalating a jSource Case
You should not hit the escalate button that is in jSource itself. This button can send notifications to the c-level managers, when the case is high priority already.
- After creating the jSource case compose an email to Julie Morlan (jmorlan@jackhenry.com) and Abby Wood (awood@jackhenry.com)
- The email should have
- Details about what we are seeing, as well as a scope to the issue.
- The case number that you created earlier.
- The email should have
- After sending the email be sure to ping Ben on hangouts if he has not already been alerted to the situation.
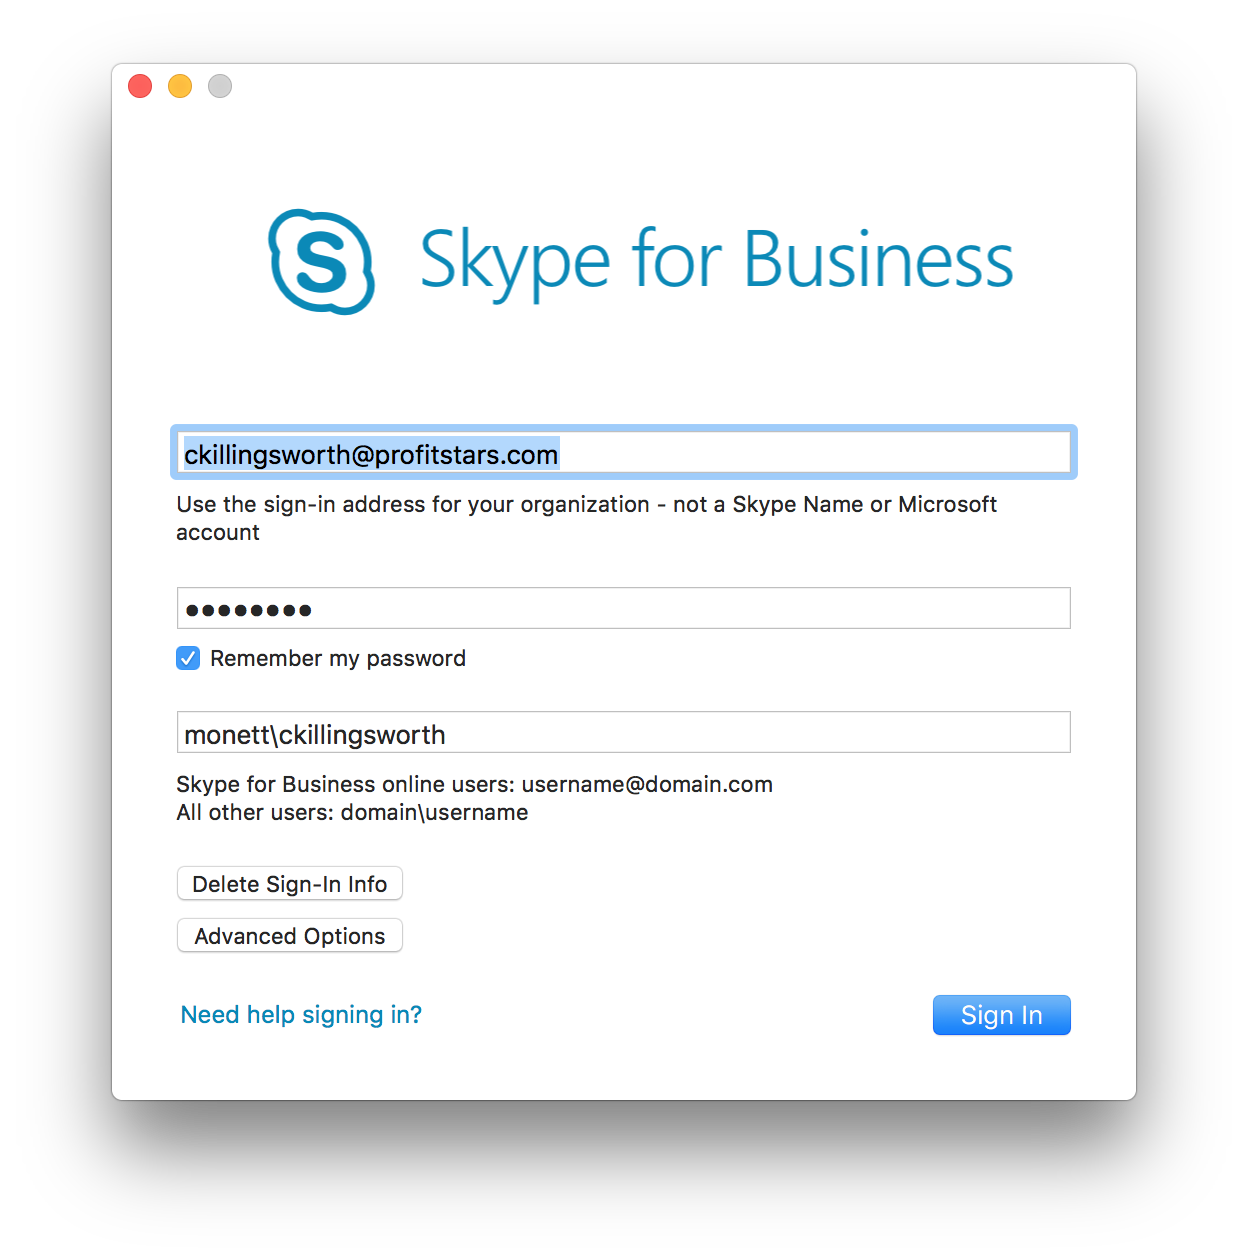
Getting Skype for Business
- Download Skype for Business to allow the rest of JHA to communicate with you effectively.
- The credentials are the same ones you use to sign into VDI/jhatoday. The username should have “monett" before it.
- If you don’t know your jha/profitstars email look yourself up in the directory.