Moving data to your new Mac with Data Shift
- Install Data Shift from Self Service+ on both Macs.
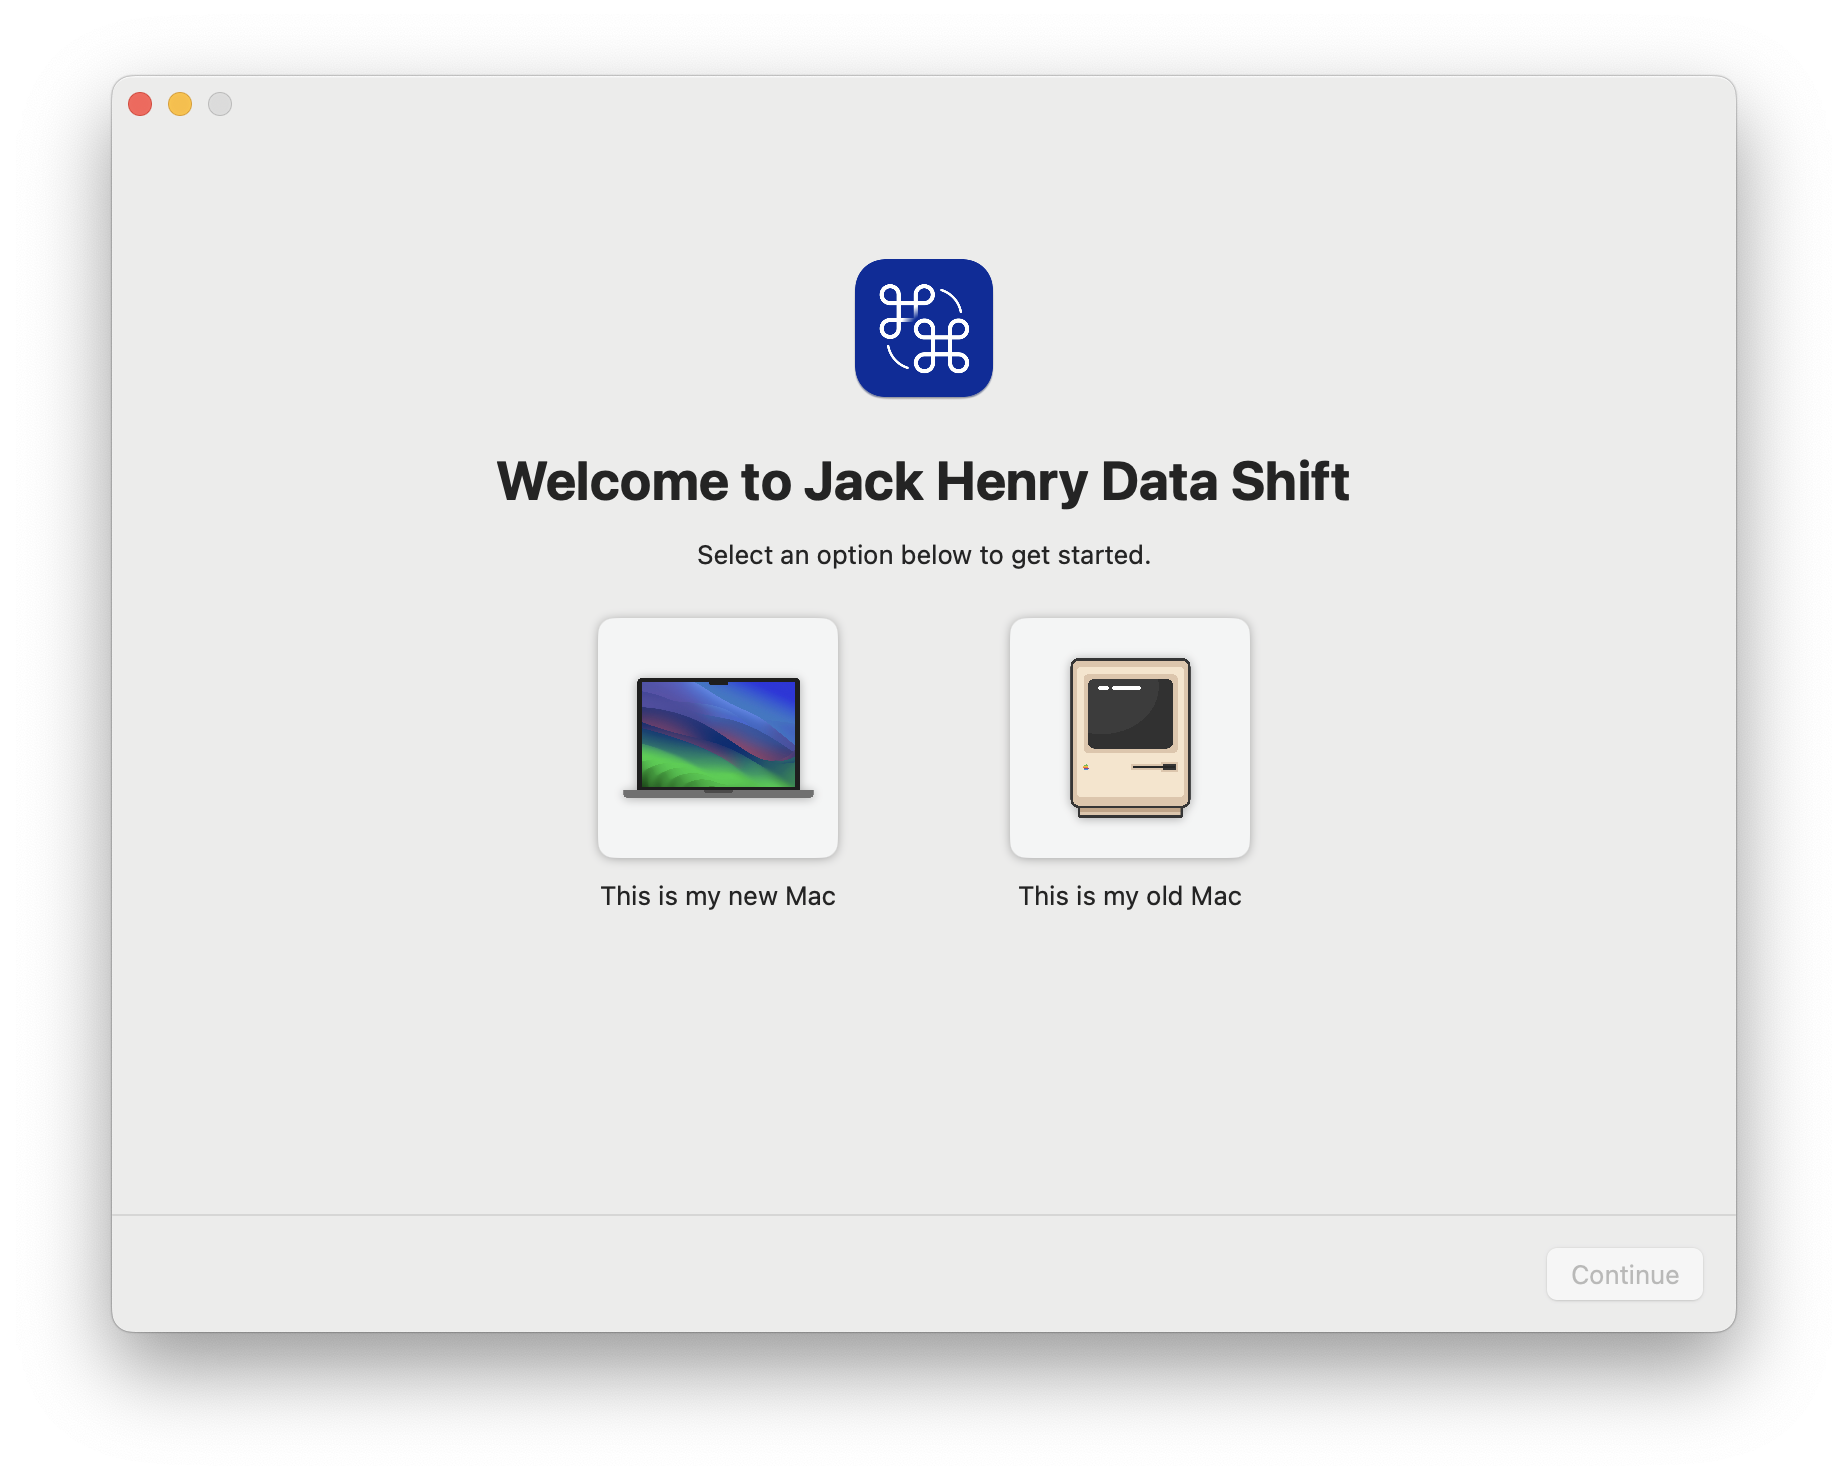
- On the first screen, select “This is my new Mac” and “This is my old Mac” on the respective Macs.
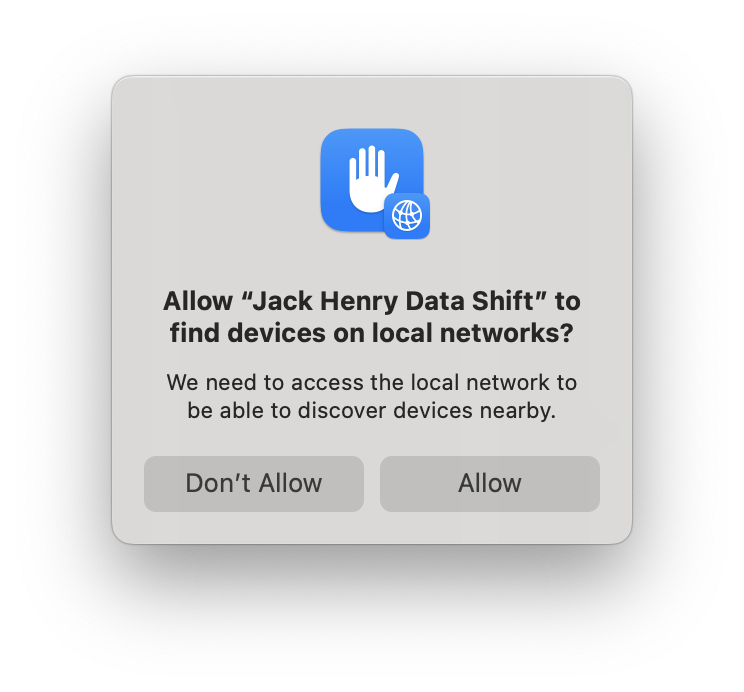
- If you are asked to grant local network access, select Allow. (This is required so that your Macs can find each other.)
- On your old Mac, select the destination device (your new Mac).
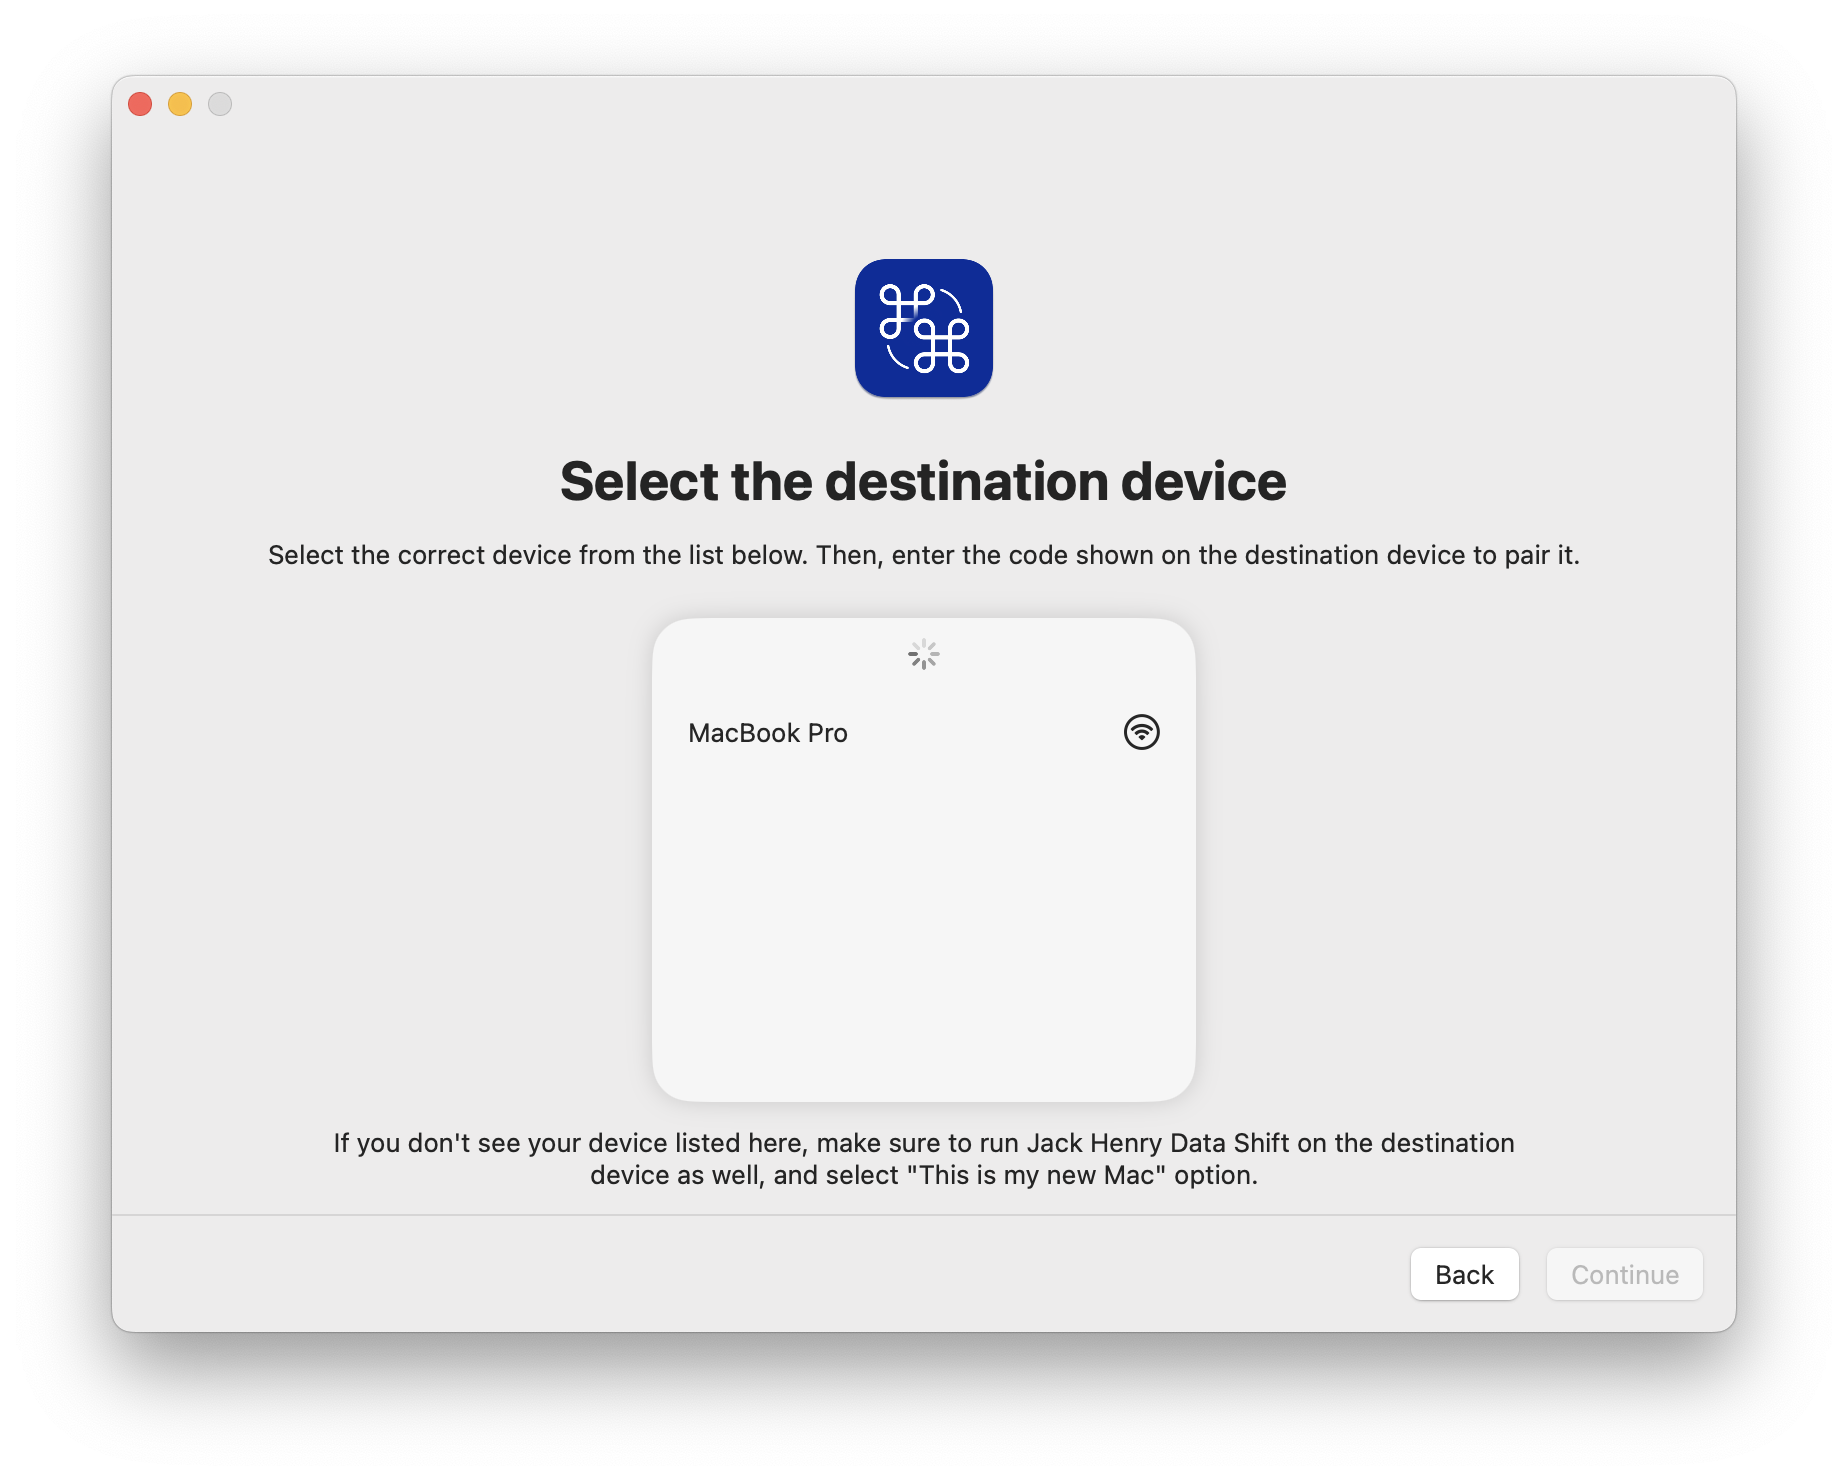
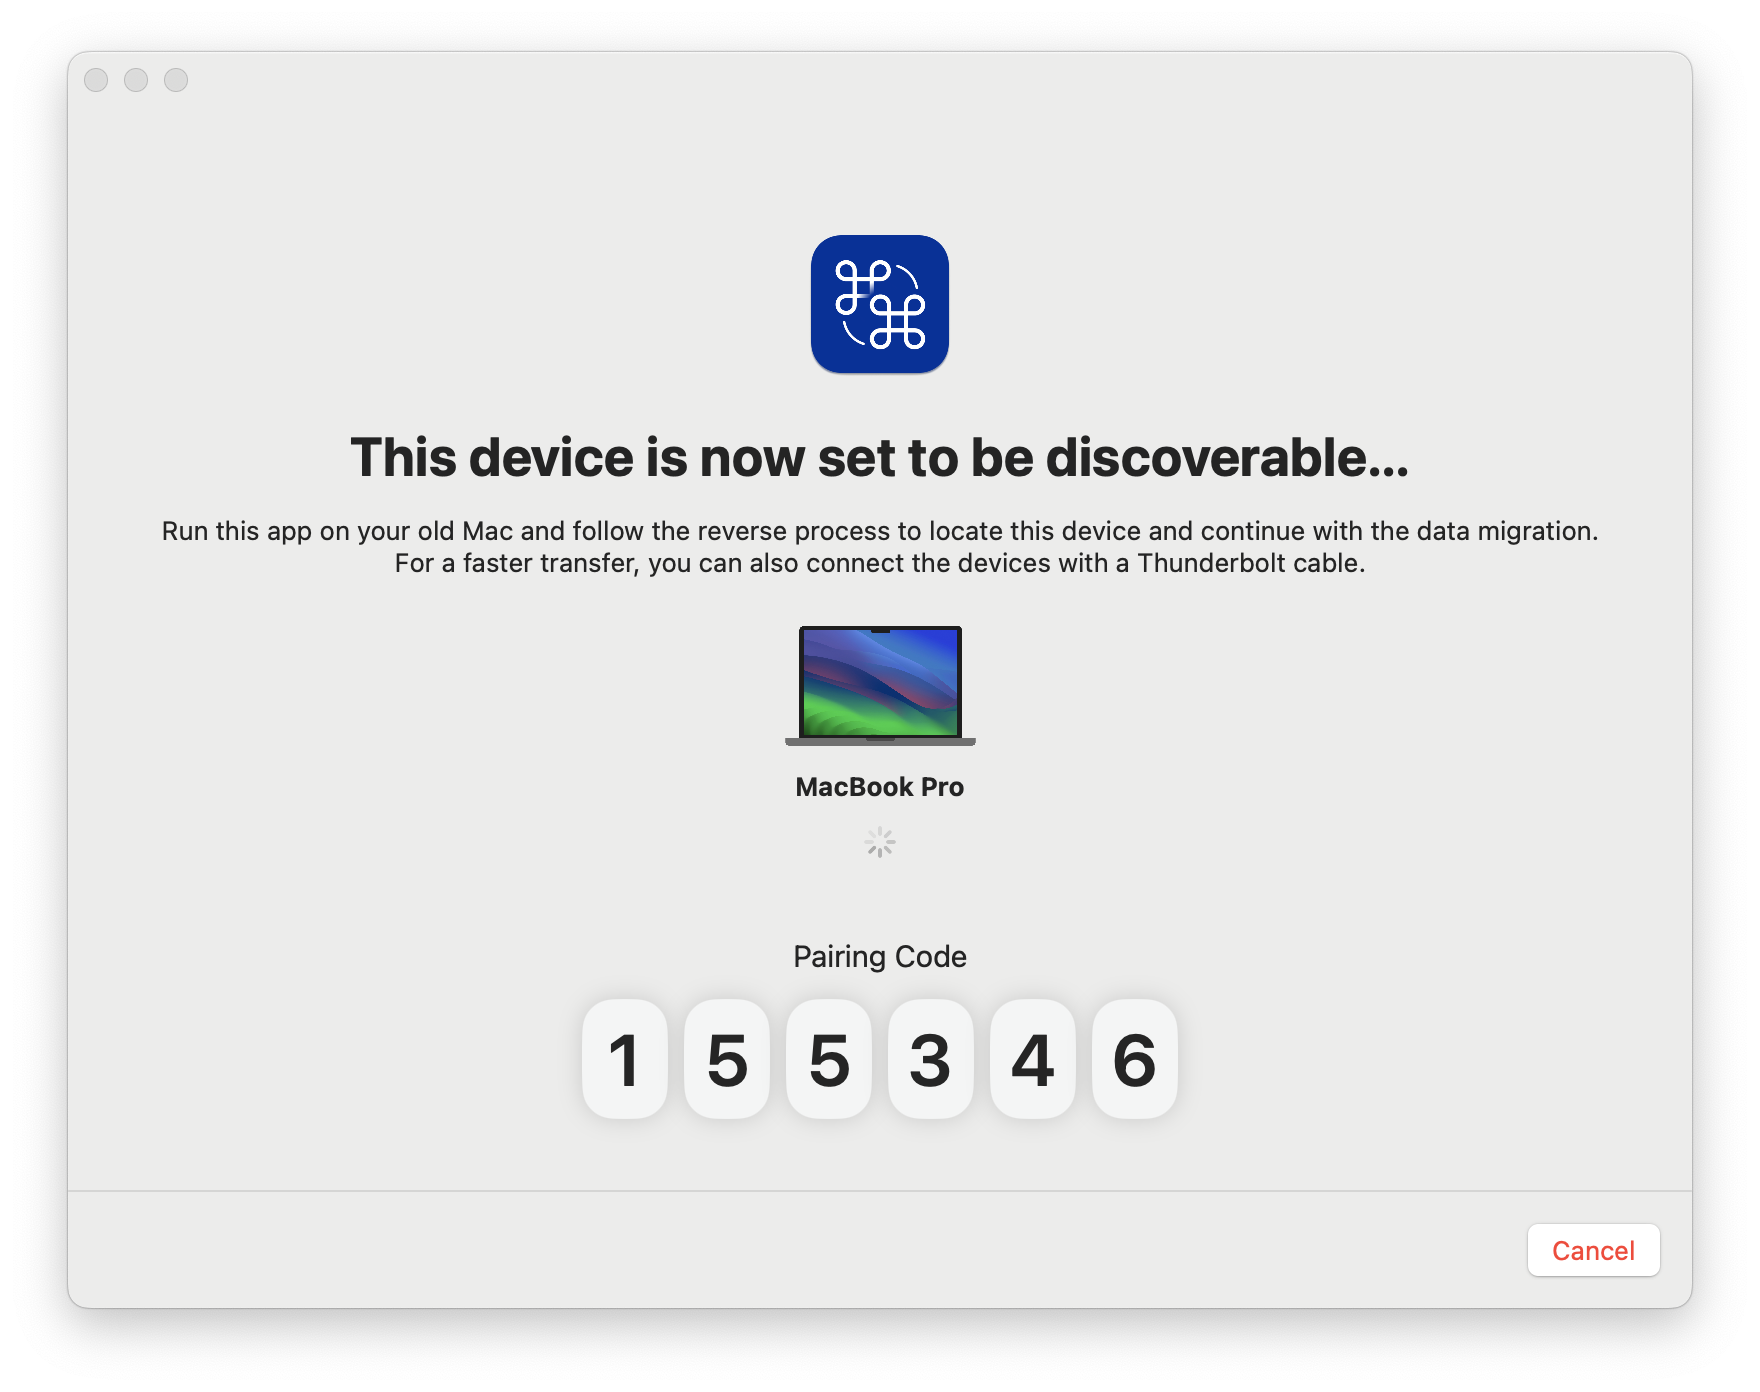
- Your new Mac should be displaying a Pairing code. Type that code in on your old Mac.
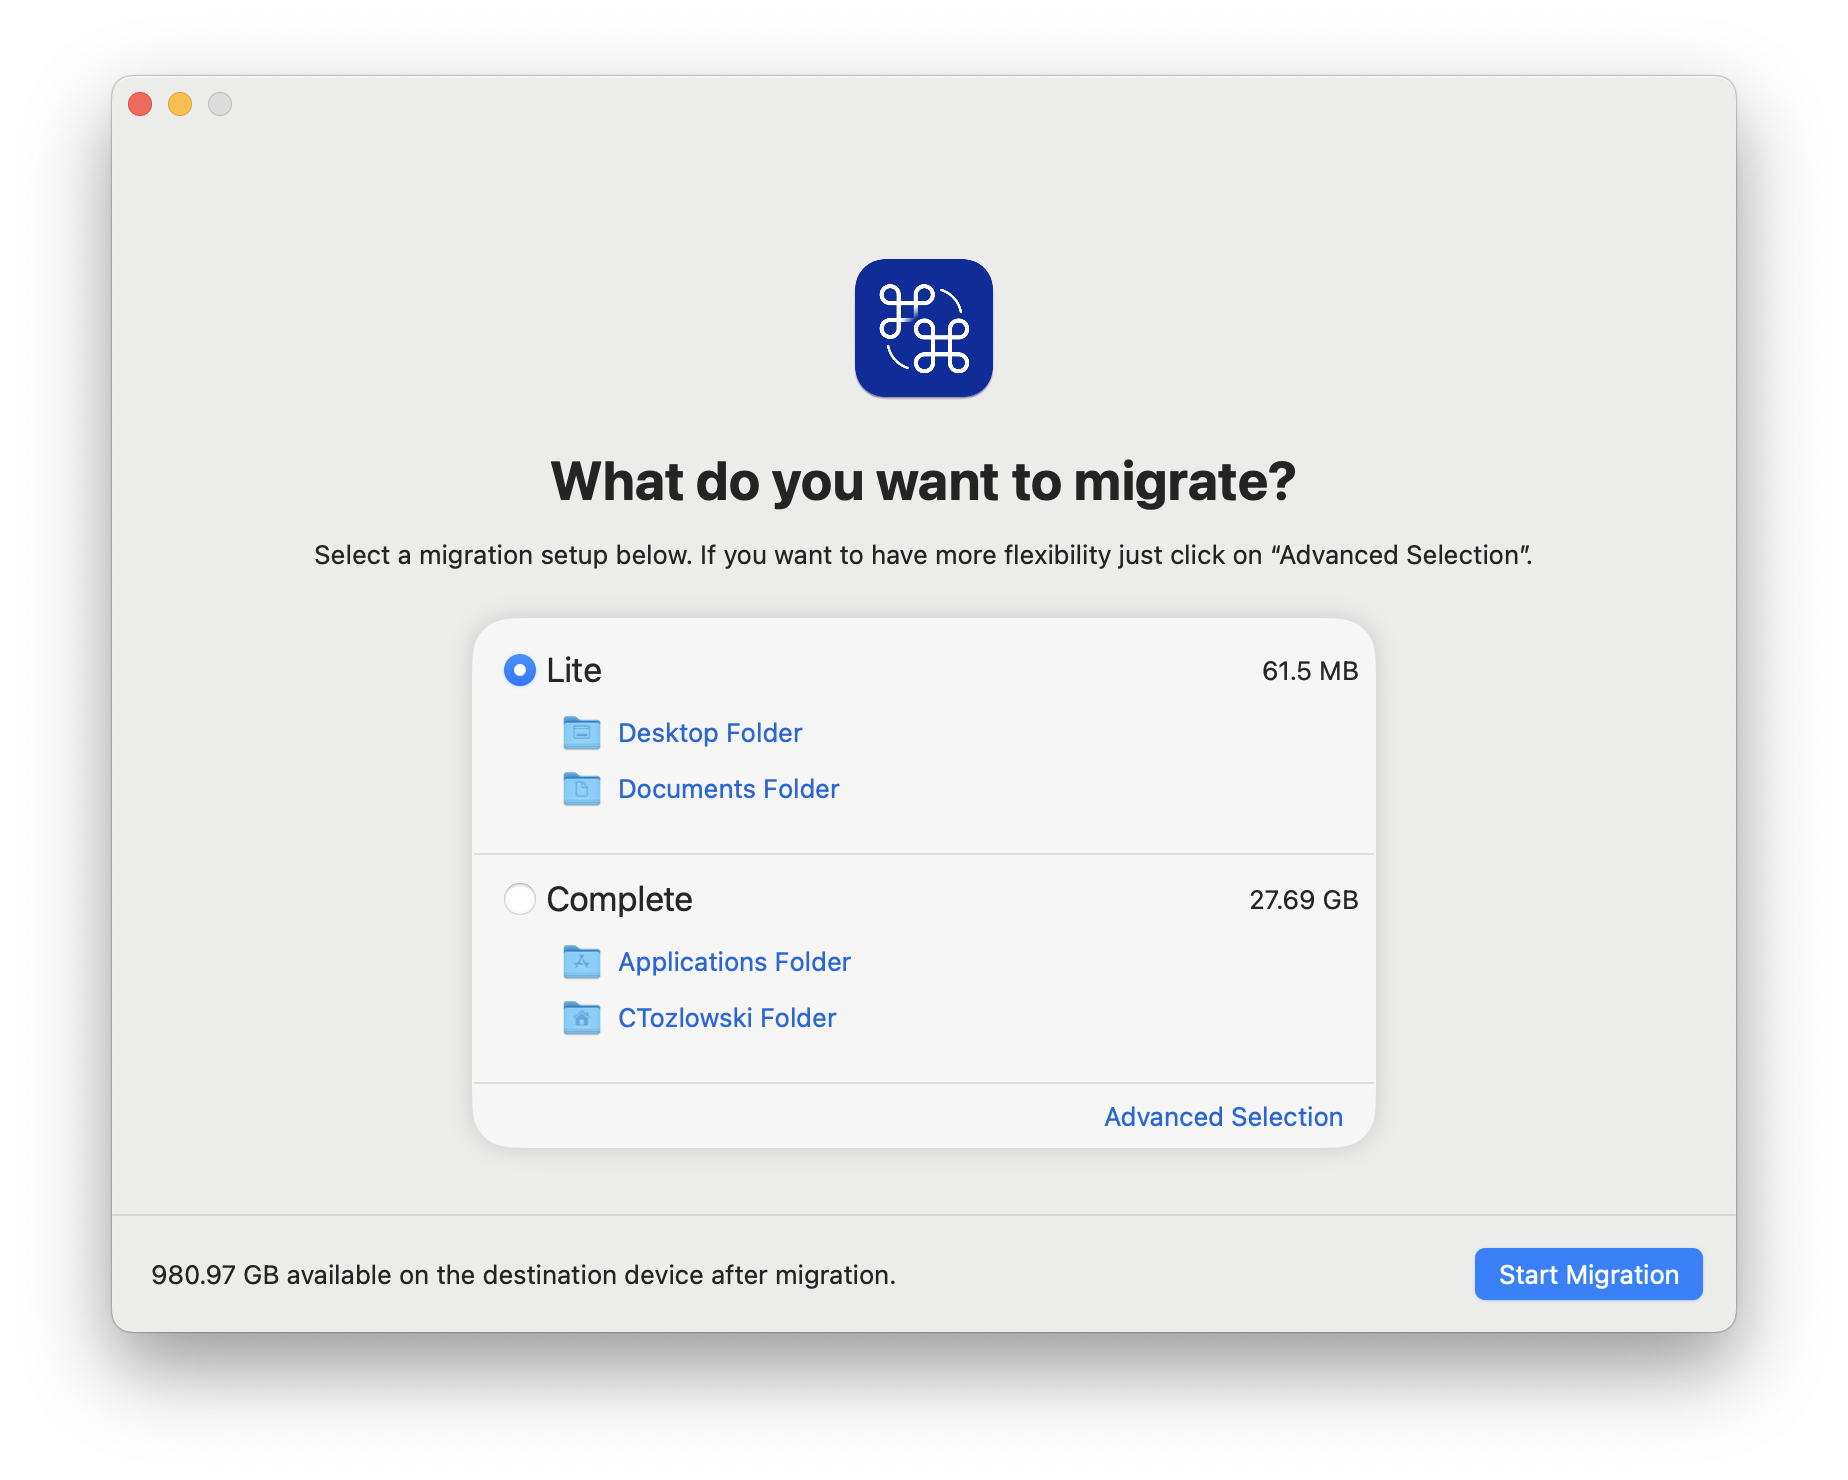
- On your old Mac, select which files you want to migrate. The Lite option will migrate only your Desktop and Documents folders. Complete will migrate your user folder (which includes your Desktop and Documents folders) and your Applications folder. You can also choose Advanced Selection to select specific files you want to transfer. Once you’ve decided, click “Start Migration”.
- The migration time will vary depending on the size and amount of files you have. Leave both devices turned on and connected to WiFi while the migration is ongoing.
- Once the migration is complete, you may be asked to restart your Mac.
- You’re all set! Any files that already existed on your new device will instead be moved to a Desktop folder called Migration.Backup. Take a look at them, but if you selected Complete migration, most of them will be miscellaneous preference and configuration files that you can ignore.