Local Administrator Privileges
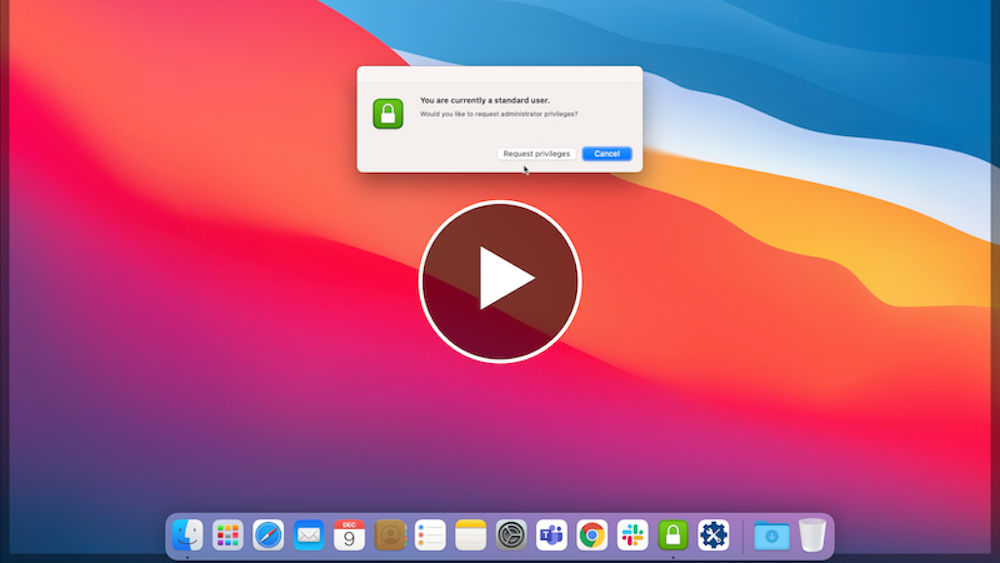
All users have standard privileges on their JHA issued Mac by default. Users may elevate to admin when needed using the “Privileges” application. The Privileges app is designed to allow you to work as a standard user for day-to-day use, by providing a quick and easy way to get administrator rights when needed. When you do need admin rights, you can get them by launching the Privileges app or clicking on the Privileges icon in your Dock.
Working as a standard user instead of an administrator adds another layer of security to your Mac and is considered a security best practice. Privileges helps enable you to act as an administrator only when required.
Using Privileges.app
See the following video for an overview (opens youtube in a new tab):
Reminder to use standard privileges whenever possible
If your account has admin rights, you will receive the following reminder to operate as a standard user whenever possible. This reminder appears roughly every 20 minutes. That should be enough time to complete a few administrative tasks (like installing an update) while reminding you not to use administrator privileges all the time.
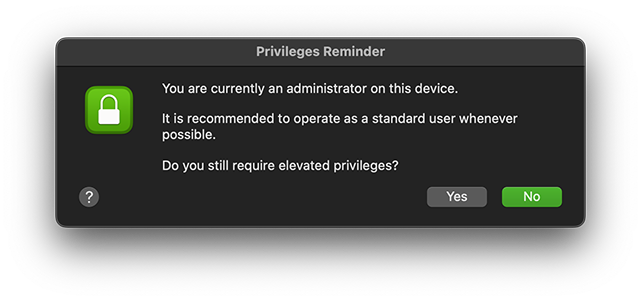
When this dialog appears, you may choose whether to remain an administrator or not.
- Clicking “Yes” resets the timer allowing you to remain an administrator for another 20 minutes, at which point the reminder will reappear.
- Clicking “No” revokes your administrator privileges immediately.
- If you do nothing, the reminder will timeout and revoke your administrator privileges in the background.
- You may then use the Privileges application to gain administrator rights again whenever needed (as explained below).
- Each privilege escalation and demotion event is logged.
Elevate from Standard to Admin
If you are a standard user and want admin rights, use the following procedure:
- Launch Privileges.
- Click the Request Privileges button.
- The Privileges dock icon should change to look like a yellow unlocked padlock.
- A “Privileges have been changed successfully” message should appear.
- The logged-in account should now have admin rights.
- Launching Privileges again will reverse the process demoting you to a standard user.
- After 20 minutes of operating as an administrator the reminder discussed above will appear.
- Repeat as necessary.
Command Line Usage
Privileges supports command line use. The PrivilegesCLI tool is located here:/Applications/Privileges.app/Contents/Resources/PrivilegesCLI
You may enter the above path in Terminal to see all supported options.
It may be helpful to create a symlink by entering the following command in Terminal (with admin rights active):sudo ln -s /Applications/Privileges.app/Contents/Resources/PrivilegesCLI /usr/local/bin/privs
Once complete, you may activate privileges from the command line like so:privs --add
Helpful Hints
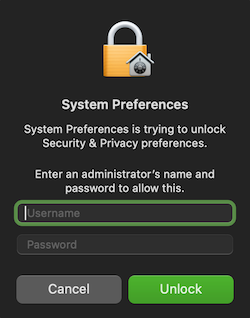
If a dialog box appears asking for your username/password and the username field is not pre-filled, your account did not have admin privileges at the time it appeared. Use Privileges to grant yourself admin rights, then enter your credentials.
When working in Terminal, if you try to use sudo and receive a message like:
b.moose is not in the sudoers file. This incident will be reported.
Your account did not have admin privileges at the time of execution. Use Privileges to grant yourself admin rights, then try again.If you are logged out or your computer is locked when the 20 minute timer is reached, your account will be demoted silently in the background.
If your computer is off or asleep, the 20 minute timer does not run.